When Onboarding a Super Admin From e~School Will Create a sub-domain e.g example.eschool.co.ke. The Administrator will share the details with you and will additionally create a Super Admin Account for you. You are required to Share your School Name, A Working Email and Your Preferred Username and/or preferred sub-domain name. The Details Will be Shared via Email or any other Preferred Method.
The Super Admin Account is a universal Account that controls all other users its the same account that will be used to create other Users. Take Care Who gets access to this Account. You can have Multiple Such Accounts
The Settings Link Can be accessed from the left Sidebar (Most of them at the Bottom). Some Additional links may act as shortcuts on the top right of the System Interface.
1. Structural Settings
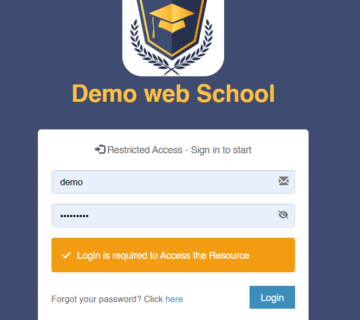
Upon Accessing your Email with Login details you are required to Login and change credentials – the System will be locked until you change your credentials. Next You Will Need to Set Up the Following:
- Academic Years
- Academic Term
- Modes of Payment (e.g Mpesa, Cash, KCB Auto e.tc)
- Student Types (e.g Boarders, Day-Scholars)
- School Sections e.g ECDE, Primary Section or Junior School
- Class Levels e.g Grade 5, Grade 6
- Classes e.g 5 Green, 5 Red (Represents Streams)
- Subjects (e.g English, Kiswahili)
You may Need to Refer to individual Sections of how to add each of these. These Will be required in the Next Stages of Data Import.
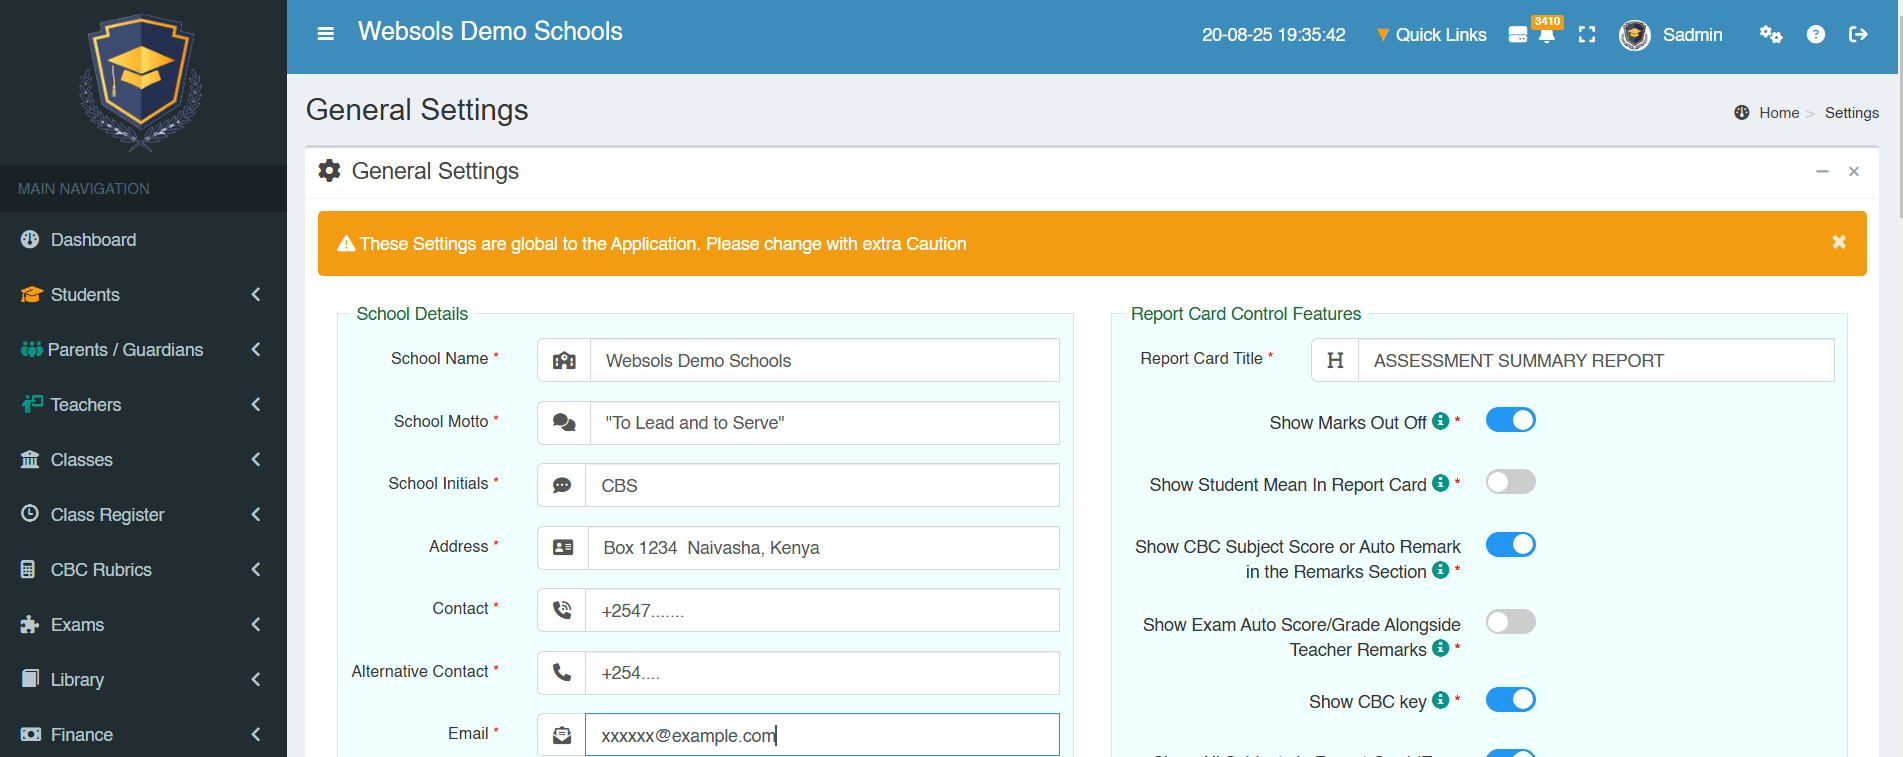
2. General Settings
You will be Required to adjust the General Settings to Match your School. The General Settings Includes parameters regarding School Details, Layout and Style, Global Functions, Finance Functions, Exam and Rubrics Functions, Student ID Parameters, Boarding Functions, School Transport and Backup Functions.
These are Mere Text Fields to insert Corresponding Values or a Series of Yes/No/Toggle Questions. Upon Save You will be Logged out for the system to apply the Changes
You may need to Disable the ” Enable Working Stage” Button so that all students will not be treated as New
More details is discussed in the General Settings Tutorial
3. Receipt Settings
Receipt and printer Settings determine the type of the printer, format and the contents of the receipt. At this Stage you must have identified the type of Printing Required for various types of documents. Any Method Chosen works alongside the a4 Format.
More details is discussed in the Receipt and Printer Settings Tutorial
4. Create Users
Create Users of the Various types such as Accountant, Librarian Admissions Officer, etc a Single user can have multiple roles assigned. These Users can assist in admitting new students and or adding more data.
More details is discussed in the Users and User group Tutorial
5. SMS Integration Setup
This will only Apply if SMS Integration Is enabled and requested for. In addition you must operate an active account with your provider.
The Settings in the API Setup will be provided by your Provider and will be pasted in the respective fields. You Must Enter a valid API KEY from your Provider for the Integration to Work.
(This is More Technical – Our Developers will offer Support where required)
More details is discussed in the SMS API Setup Tutorial.
5. Other Integration (Banks) Setup
This will only Apply if the corresponding Bank Integration Is enabled and requested for. In addition you must operate an active account with your Bank.
This Will be Setup In Conjunction with your bank Integration Team however do not change the default value unless you are sure what you are doing.
(This is More Technical – Our Developers will offer Support where required.)
More details is discussed in the SMS API Setup Tutorial.